List of supplies:
6 different digital designed papers
12 pages of matte Presentation Paper
Paper cutter
Scissors
Tim Holtz Tiny Attacher Stapler
Printer
I printed on both sides of (12) - 8.5 x 11 inch Presentation paper(using a different pattern for the opposite side). I printed 4 of each combo I chose to put together.
After printing, you may need to trim off the white edge on all 4 sides of each paper. Then place each paper lengthwise in your trimmer and cut into 1 inch wide strips x roughly 10.5 inches(remember you trimmed off the white outer edge.)
Cut a piece of plain white paper the same way in a 1 inch strip x the same length of your patterned strips and then fold it in half and cut along the fold. You will use this 1/2 strip to help you place the long strips back on your cutter to cut each long strip in half. This will save a lot of time cutting multiple strips at a time.
Line up all 8 strips and cut them in 1/2 all at once.
You will get (16) 1/2 strips out of each page. You will end up with (192) 1/2 strips in all.
Remember these are all printed double sided so find a pleasant color pattern before you start stapling. Below are the opposite sides of each of my 6 patterns.
Now get your Tiny Attacher and start making loops and overlapping at the ends about a 1/4 inch. You can put one staple in the middle of each overlapped end. Keep your 6 stacks of paper in a row and just use one of each and then start over again. Doesn't the inside look pretty with a patterned printed on both sides?
I ended up with about 18 feet of garland when I was finished!
It went around my tree about 3 times.
And here is a closeup of the garland on the tree!
The digital designs I used were from the Jessica Sprague Christmas Blog Train(2010)


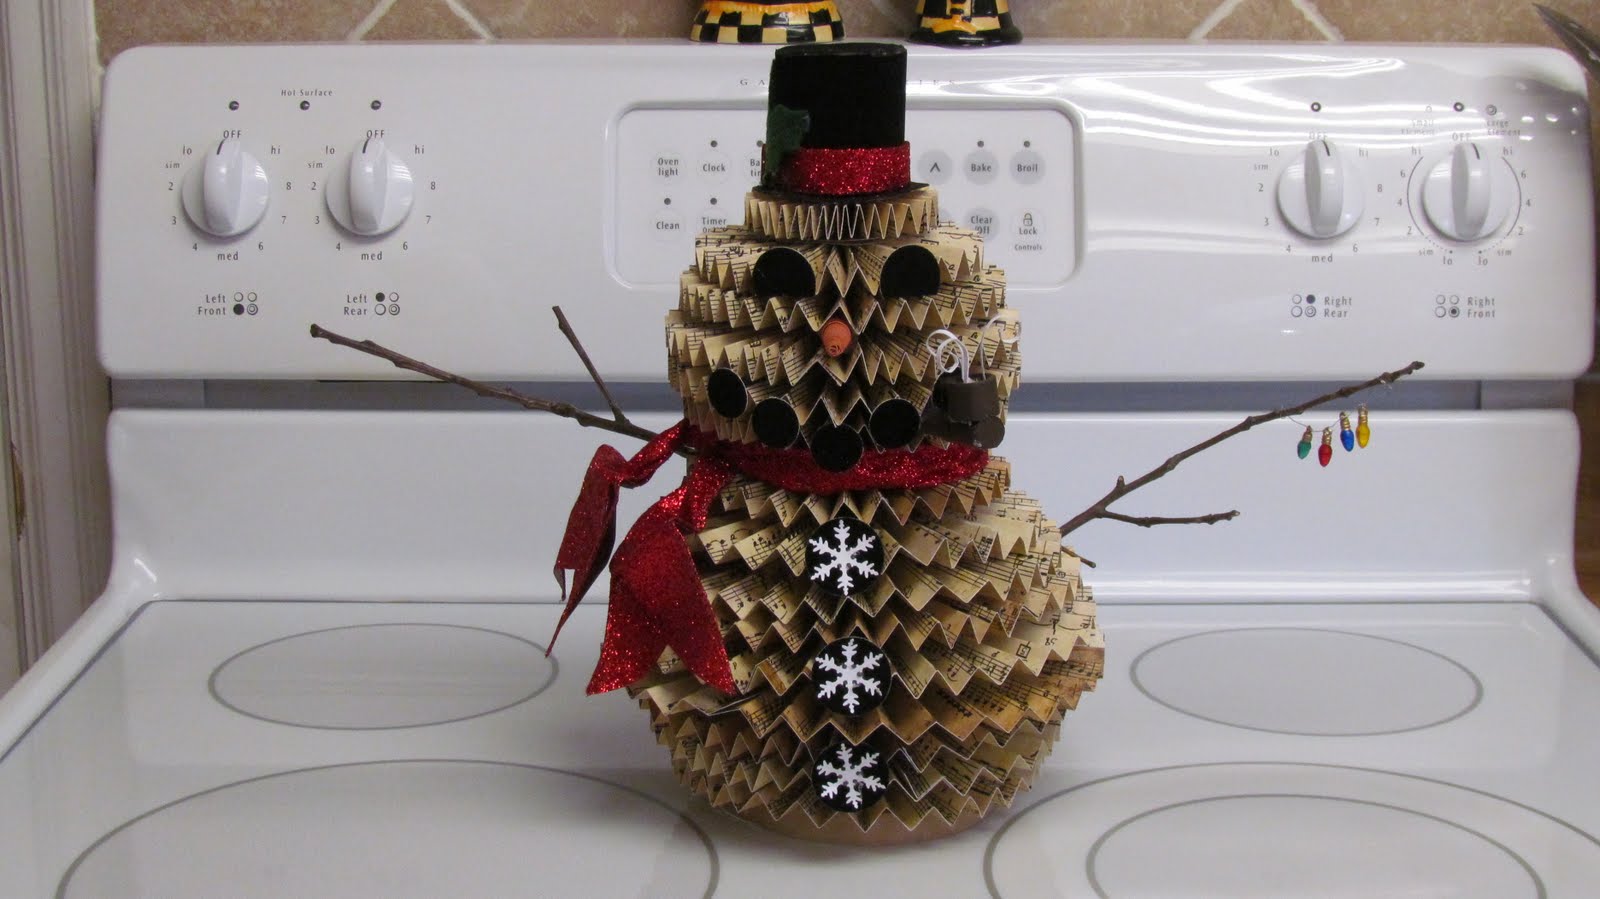 The girls that I scrapbook with every week came across this project pattern for a snowman at Archivers ...so we just had to make it...since I love snowmen and collect them, he just fit right in to my snowman family.
 Go to http://www.archiversonline.com/ideas/home-decor-rosette-snowman-3414 for the directions...oh in addition to the directions...my friends husband made us a 4 or 5 inch round platform and glued a dowel rod into it...so that the rosettes are stacked with the dowel rod going thru the center, which makes him very sturdy! Traditional snowmen are white but I wanted to try a tattered sort of look so I use 12 x 12 music note paper instead of white paper.
 Betty shared such a neat idea for paper trees. I made mine using My Mind's Eye Lost & Found papers; glitter everywhere! I had seven sizes of dies for each tree and short bamboo skewers, about 8 inches. Some trees were layered with 3 of each size and others with 4. Both look wonderful! Thanks Betty!


