
 Cut 8 strips at 1" x 5 1/4 ", 4 strips at 1" x 4 " and 1 strip at 1" x 3 ".

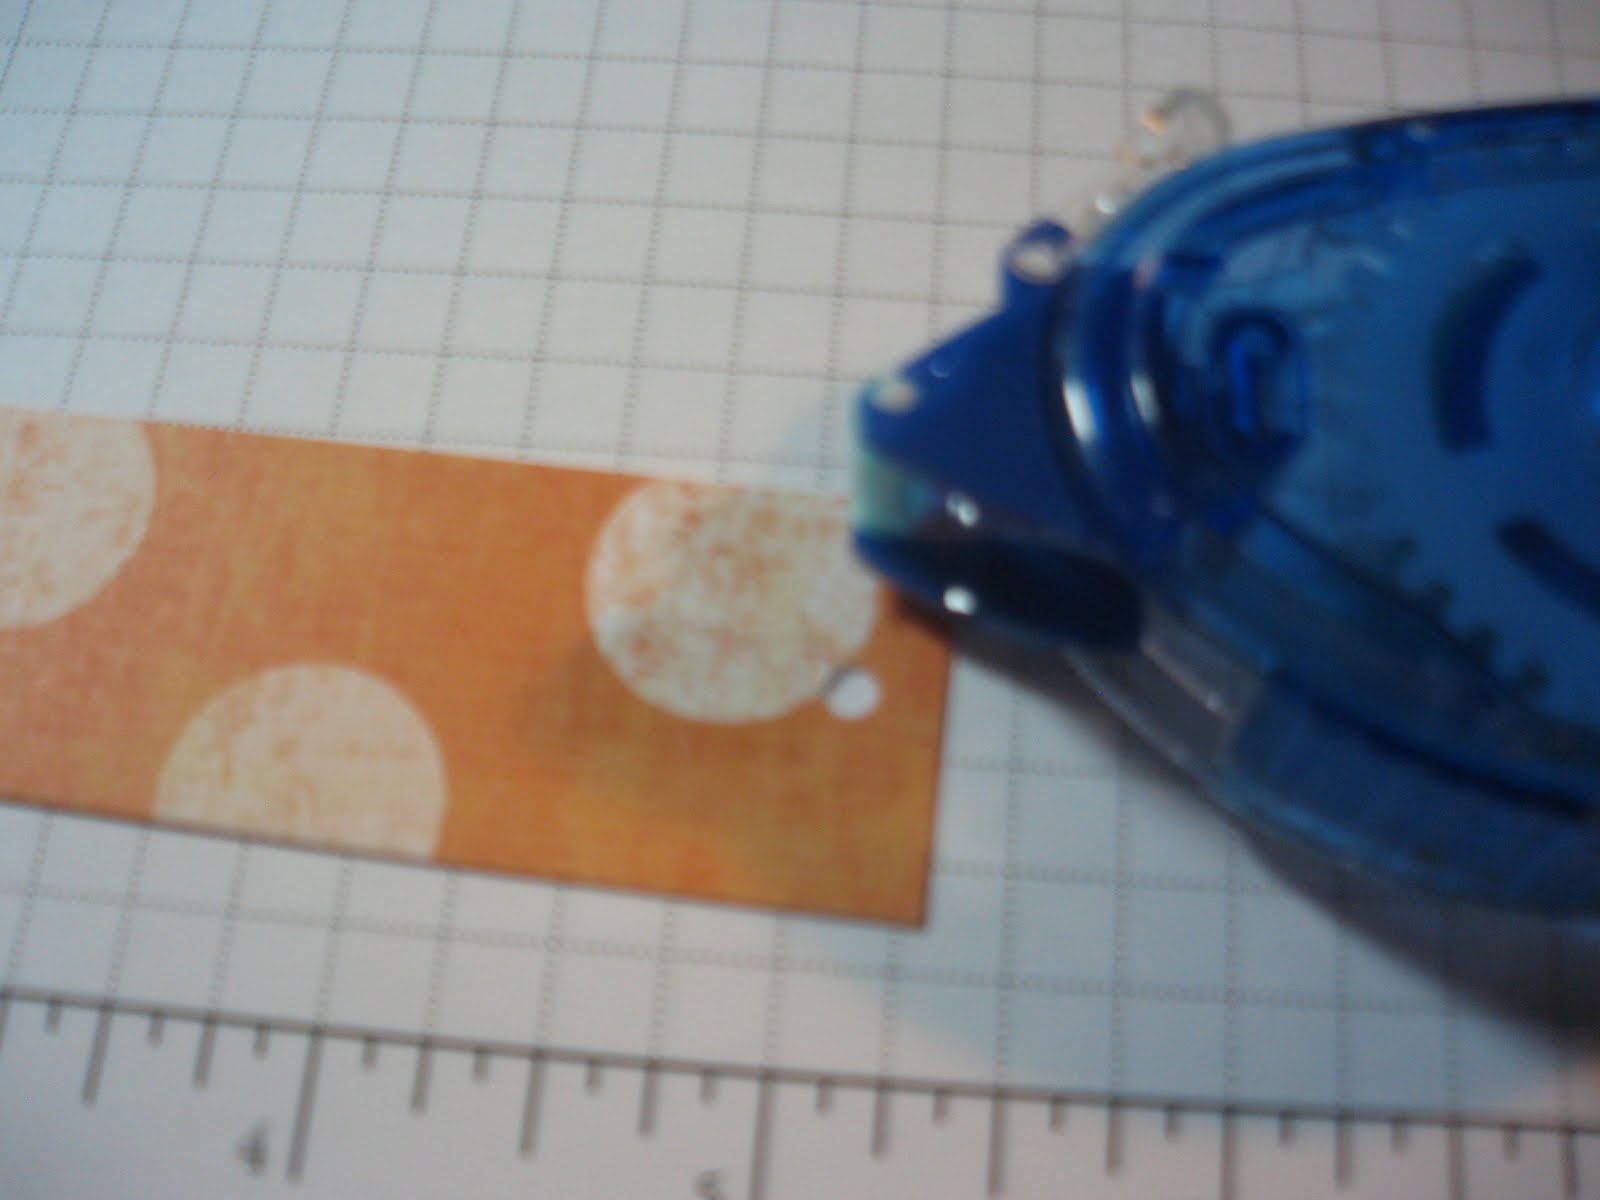
Start with the 5 1/4 " strips, at one end put a small amount of adhesive.

Bend the strips so that the holes match, the end with the adhesive should be on the bottom. Continue till you complete with the 5 1/4 inch strips.

Begin to assemble the bow by placing the brad on the table with the prongs up. Layer them opposite until you have used all of the 5 1/4 inch strips.

Continue with the 4" strips adding them to your brad.

Once complete, fold down the prongs of the brad.

Roll the shortest strip so the ends overlap and glue them together, then glue them to the center of the bow.
I used Crystal Effects by Stampin Up but, the Tombow multi glue with the green lids will work also.

Thanks, Sheri


2 comments:
That's neat! Thanks for the detailed instructions! Gonna have to try this!
Kathy
That is an awesome bow...I will have to try to make some of those for present this Christmas.
Post a Comment